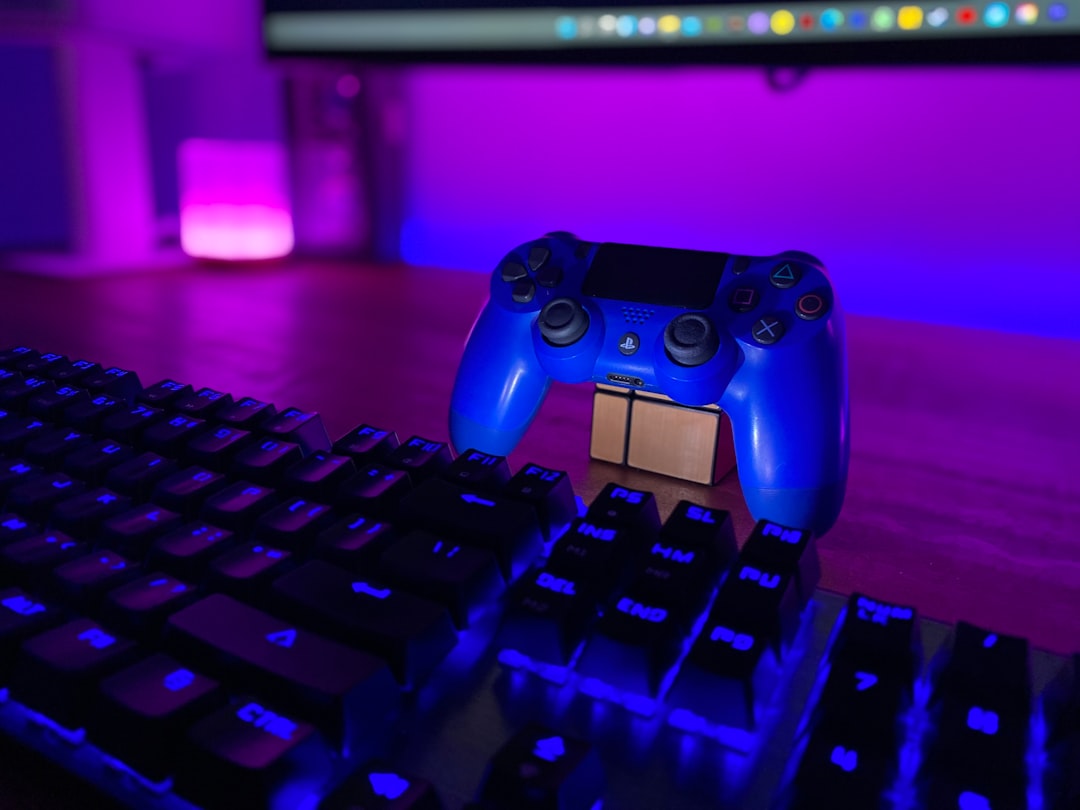
Accessibility settings can make the difference between fighting a game’s controls and enjoying its systems. This pre-game checklist explains which options to review, how to test them during the opening hour, and when to revisit your setup after updates, platform changes, or a new controller.
Overview
There is no single list of “best” accessibility options in games. The right setup depends on the player, the genre, the display, the controller, and the demands of a particular game. A fast action game may require careful work on camera movement and input timing, while a story-heavy adventure may benefit most from subtitle controls, text scaling, and audio descriptions.
Start with the settings that affect comfort, comprehension, and basic control. You can then adjust challenge-related options without assuming that a lower difficulty is the only solution. Many games separate accessibility from difficulty, offering tools such as aim assistance, longer input windows, navigation aids, reduced enemy aggression, or automatic actions.
Before starting, also check the accessibility features built into your platform or operating system. Console and PC tools may include controller remapping, magnification, high-contrast display modes, text-to-speech, voice control, or system-level color adjustments. Availability and names vary by platform, game, controller, and operating-system version, so treat this guide as a checklist rather than a guarantee that every option will appear in every title.
What to track
Use the following reference table when opening a new game. You do not need to change every option. Instead, identify the settings connected to the player’s specific needs and test them in a safe area before committing to a long session.
| Setting area | What to check | Why it matters |
|---|---|---|
| Subtitles and captions | Subtitle size, speaker labels, background opacity, sound-effect captions, language, and caption timing | Clear captions help distinguish dialogue, environmental information, and important off-screen sounds. Speaker labels and a readable background are especially useful during busy scenes. |
| Text and interface size | Menu scale, HUD size, dialogue text, font style, contrast, and screen position | Small interface elements can create unnecessary strain. Increase only the elements that are difficult to read if a large HUD covers important gameplay information. |
| Color and contrast | Color filters, alternate markers, enemy outlines, reticle colors, brightness, and high-contrast modes | Color alone should not be the only way a game communicates danger, objectives, or team roles. Pair filters with symbols, outlines, or other visual indicators when available. |
| Control remapping | Individual button assignments, stick sensitivity, trigger behavior, toggle options, and controller profiles | Remapping can reduce awkward reaches and make frequently used actions easier to perform. Check for conflicts before saving a profile. |
| One-handed and alternative input | Hold-versus-toggle controls, simplified inputs, automatic actions, controller accessories, keyboard alternatives, and mouse support | One-handed control options may reduce the number of simultaneous inputs. A toggle can replace a sustained button press, while an alternate device may improve reach or stability. |
| Aim and camera assistance | Aim assist strength, target slowdown, camera acceleration, motion sensitivity, auto-centering, and lock-on behavior | These tools can reduce precision demands or camera corrections. Adjust them gradually so assistance supports control rather than making movement feel unpredictable. |
| Difficulty modifiers | Damage received, enemy health, resource availability, timing windows, checkpoint frequency, and combat speed | Individual modifiers can address one frustrating system without changing the entire experience. Look for custom or story-focused settings where available. |
| Motion reduction | Camera shake, head bob, screen blur, field-of-view, flashes, rapid transitions, and motion effects | Reducing visual movement can make extended play more comfortable. If a setting affects navigation or spatial awareness, test it in both exploration and combat. |
| Audio and navigation cues | Volume sliders, mono audio, directional indicators, visual sound cues, vibration, and navigation assists | Separate dialogue, effects, music, and ambient audio so important information is not buried. Visual or vibration cues can supplement sounds that are easy to miss. |
| Screen readers and narration | Menu narration, spoken interface text, audio descriptions, navigation prompts, and speech speed | Screen-reading features can make menus and inventory systems more usable. Confirm that narration does not overlap with dialogue or essential gameplay audio. |
For broader purchase decisions, include accessibility in your normal game research. Our game review checklist can help you compare accessibility alongside performance, value, and fun. If you are playing on PC, you can also review how to check whether your PC can run a game before buying; stable performance and readable presentation are part of a comfortable setup.
Cadence and checkpoints
A short setup routine is more effective than changing everything at once. Use these checkpoints during the first hour:
- Before launching: Check the controller, display, audio output, and platform-level accessibility tools. Confirm that the game recognizes every input you plan to use.
- At the first menu: Increase text size, enable subtitles or captions if useful, review color and contrast options, and look for a dedicated accessibility menu rather than assuming all settings live under difficulty.
- During the opening tutorial: Test movement, camera control, aiming, interaction, menus, and any repeated action. Note whether you must hold, tap, or rapidly press a button.
- After the first demanding sequence: Adjust motion effects, camera sensitivity, aim assistance, audio balance, and difficulty modifiers based on actual play rather than the menu description alone.
- Before a longer session: Save the configuration as a profile if the game or platform supports it. Keep a short note of settings that worked so they can be restored after a reset or platform change.
If the game supports cross-play or you regularly move between devices, record the practical differences. A control layout that works on a console gamepad may not translate cleanly to a keyboard, handheld, adaptive controller, or another gamepad. Our guide to cross-play games is a useful companion when different players are using different hardware.
How to interpret changes
When a setting improves one problem but creates another, change one variable at a time. For example, if aiming feels difficult, test sensitivity first, then aim assistance, then camera acceleration. This makes it easier to identify what helped and prevents a new configuration from feeling confusing.
Separate comfort from challenge. Reducing camera shake or enlarging subtitles does not make a game easier in the same way as reducing enemy damage. Conversely, a difficulty modifier can be a useful accessibility tool when a particular timing requirement, visual effect, or repeated input prevents progress. The goal is a playable experience, not adherence to a default configuration.
Watch for settings that change how information is delivered. A color filter may improve one interface element while making another harder to distinguish. A screen reader may clarify menus but overlap with dialogue. A wider field of view may reduce the feeling of tunnel vision for some players but affect performance or visual clarity on some systems. Test the complete play loop before deciding whether a change is beneficial.
When to revisit
Return to this checklist whenever you begin a new game, switch platforms, connect a different controller, or change your display or audio setup. Accessibility menus are not always consistent between titles, and a setting that worked well in one genre may be uncomfortable in another.
Recheck your configuration after a major game update or patch, particularly if controls, menus, graphics, performance, or save profiles have changed. Platform and operating-system updates can also alter system-level tools or controller behavior. If a game introduces a new mode, interface, or accessibility option, test it during a low-risk section before using it in a difficult encounter.
Finally, revisit the setup when play becomes tiring, confusing, or physically uncomfortable. Take a break, identify the specific source of friction, and return to the relevant category in the table. A small change to text size, input behavior, camera motion, audio balance, or navigation can be more useful than abandoning a game that otherwise suits your interests.
Practical next step: Before your next game, spend five minutes checking subtitles, text size, control mapping, camera motion, audio cues, and difficulty modifiers. Test each during the opening hour, save the configuration if possible, and keep this checklist available for the next new release or platform change.